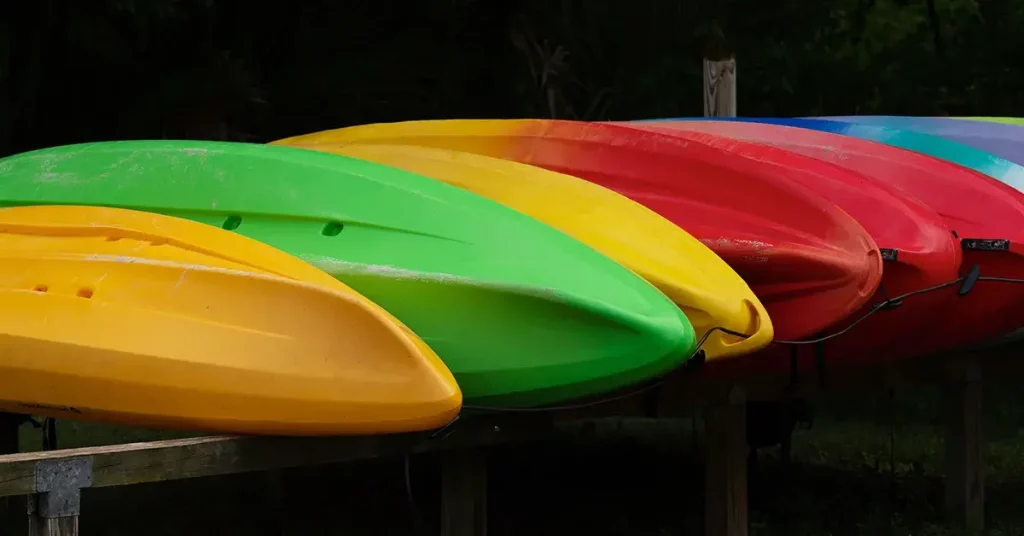
Unless you are fortunate enough to live in an area with little or no winter, the chances are that with fall approaching, you have started to think about the winter season and how to winterize your kayak.
While most kayaks do not need a lot of winter preparation, you do have to make sure you use an effective cleaning process. You also must ensure that your kayak storage strategy protects it from freezing temperatures, snow loads, and cold weather.
Here are some tips on how to winterize your kayak and get your kayak ready for winter storage. The goals is to ensure that your craft is safe and secure for the winter months but prepared to tackle the water as soon as next season rolls around.
Why Winterize Your Kayak?
Some kayaks are high maintenance, but unless you spend your time on the water beating it up, most kayaks are made of robust material and are pretty rugged. Why, then, do you have to spend any time wondering how to winterize your kayak at all?
One reason is that, like all boats, even rugged crafts need some TLC now and again.
Kayak winterization offers the perfect time to catch up on what you have ignored for the last six months. That might be tending to storage compartments, replacing bungee cords, addressing deep scratches with a new paint job, and making other minor repairs to things that got banged up over the spring, summer, and fall.
Another reason to winterize is that leaving your kayak to the elements is asking for trouble.
Small animals looking for a winter home would love to bunk in your boat, direct sunlight can cause UV damage even in cold weather, and moisture buildup from freezing cycles can cause warped seals and turn tough components into brittle parts.
A Simple Choice
You can neglect to clean, repair and store your kayak properly in the fall and run the risk of having to spend time in the spring cleaning it out and making repairs before you can hit the water.
Or, you can learn how to winterize your kayak, clean and repair it before putting it in a safe storage area so you can use it as soon as you want once the world warms.
Document Your Kayak Storage Process
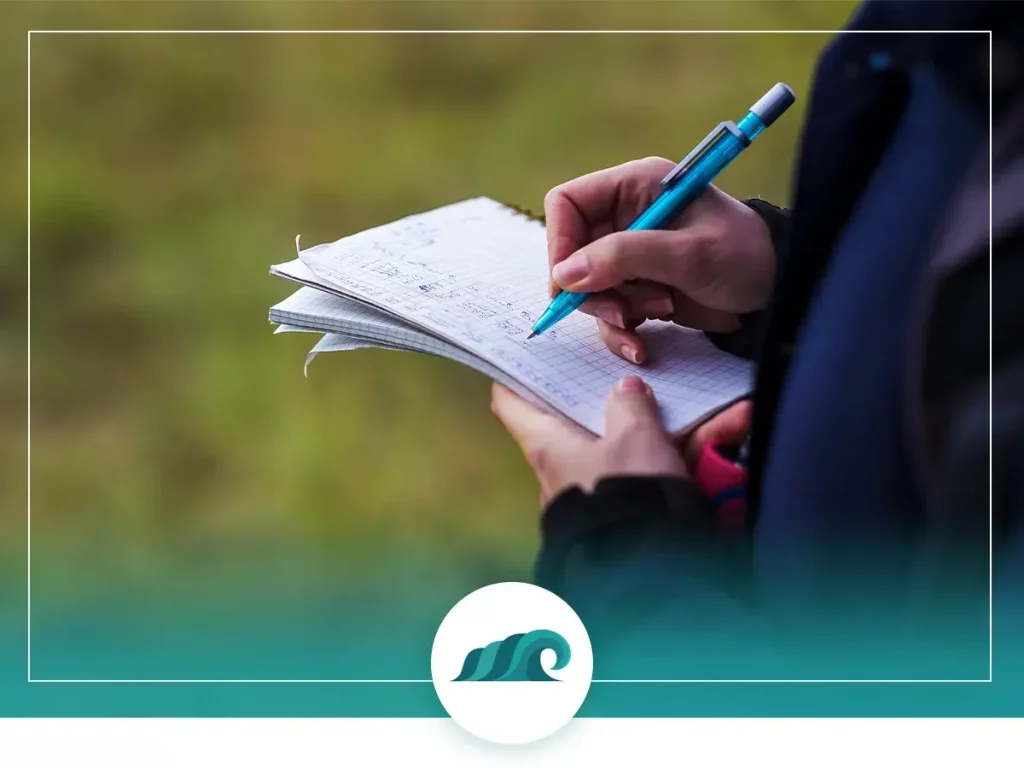
Cleaning and removing parts of your kayak will seem easy, but if you do not mark where the various components go, you will have a tough time getting the kayak ready in the spring.
Document everything by the following methods as you walk through how to winterize your kayak:
- Take a picture of everything and every step you take
- Label anything you take off the kayak, especially any cordage
- Store any loose parts like bolts or washers in plastic bags you mark
- Write down any observations you have regarding removal of rigging and accessories
- If you are not putting accessories back on the craft once you are ready to store it, make them with labels
Prep Your Kayak
The following is the simple process of ensuring your kayak is ready for winter storage.
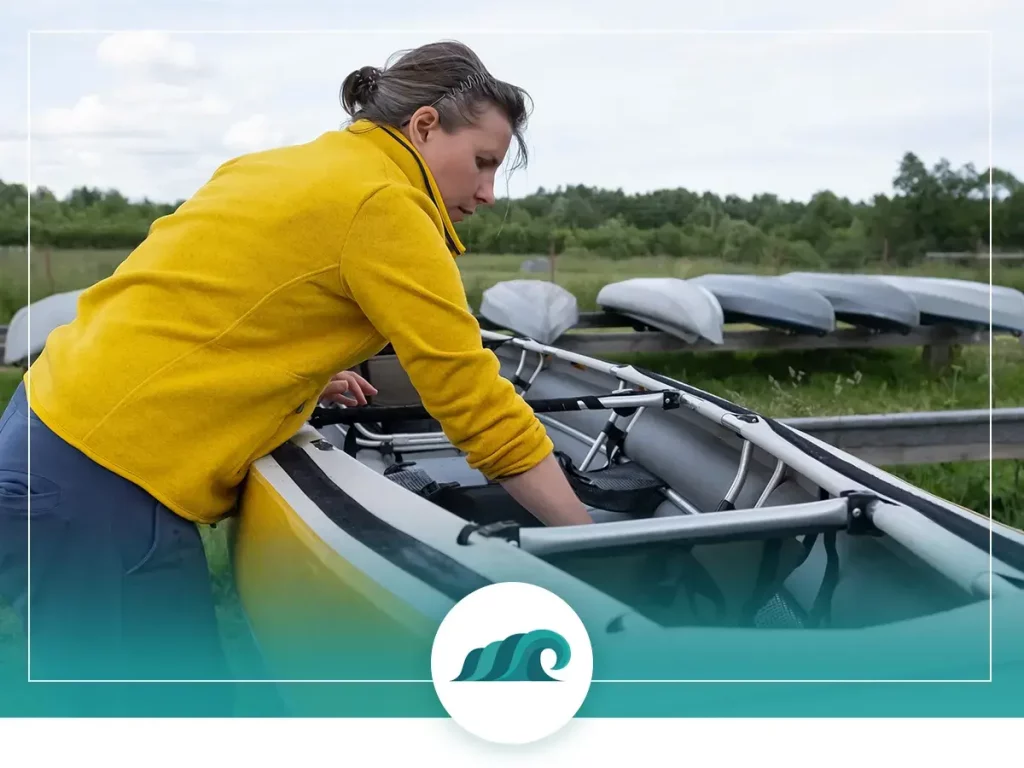
Inspect the Body, Gear, and Other Accessories
Start at the deck and move to the bow, followed by the hull, stern, and any back deck. Go over the body of the kayak with a fine tooth comb. Check for cuts, gouges, deep scratches, and punctures. Test hatch covers and the cockpit cover and verify that all coverings sit and seal tightly.
Remove the Rigging
Remove all rigging and any cushioning or foam covering where you can. If you use your kayak in salt water, look for corrosion on any metal parts, including bolts, washers, and screws.
Once you have removed all the cordage, test all bungee cords and another cordage for weak spots, fraying, cuts, and areas losing elasticity. Unless deck cordage is in great condition, plan on replacing it in the spring. Before storing your kayak, you will want to replace any torn or rotted gaskets or seals.
Cleaning the Kayak
While kayaking, your vessel was baking in the sun, ridden through all sorts of chemicals, animal matter, plant debris, dirt, and grime. Even if you only take your kayak out a few times each season, you need to wash it the same as you would boats, canoes, and other watercraft.
Kayaks that are stored dirty will look bad in the spring but have other consequences. Not cleaning kayaks can mean UV protectant wear off, and direct contact with chemicals can stain and weaken plastic kayaks.
Wood trim is especially susceptible to this type of wear and tear, and you will need to pay special attention to ensure that all debris and organic matter get removed.
For kayaks that have steerage, lack of cleaning can weaken parts and lead to debris and much hardening, which can cause steering components to freeze and break whenever you go paddling next.
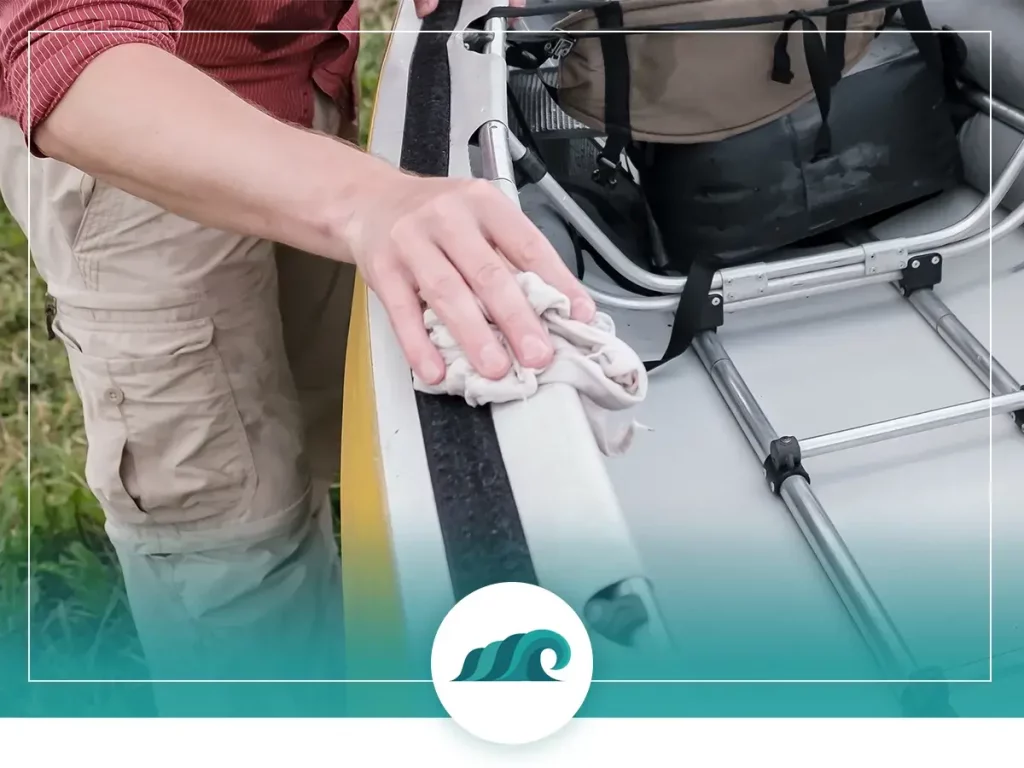
Be Thorough With Cleaning
Before you decide how to winterize your kayak and store it for winter, you want to clean every space you can reach on and in the kayak. Use manufacturer-recommended cleaners for each section and scrub the hull, stern, inside hatches, and all eyelets, gear systems, and piping.
Clean the inside of hatches and make sure there is nothing that will allow small animals to start building a winter-season nest.
Dry It With Heat
Do not do anything else to your vessel once you have finished cleaning until everything is bone dry. Moisture left over the winter can give mold and mildew a foothold.
Use a heat gun or hair dryer to dry the kayak, including carefully drying inside the main body and any hatches. Store the kayak inside if possible to let it dry without being exposed to the elements.
Do not use heat on an inflatable kayak. The best way to dry an inflatable kayak is to leave it inflated inside for up to a week. You can use a hair dryer to get stubborn areas to dry out.
Treat, Seal and Cover
Once the kayak is dry, inspect it once again. Pay attention to the hull and take the kayak for repair if you have any deep cuts or gouges. Do not wait until spring, when every kayaker tries to get their boat fixed.
If you do not have to get any repairs done, use manufacturer-recommended winterization treatments on the boat. These can include treatments to protect it from harmful UV rays, restore or preserve its coloring, and waterproof parts of the vessel. You should also repair any piping, equipment, or parts that have broken or show wear and tear.
When any treatment you apply is dry, seal all hatches. Leaving hatches open is an invitation for rodents to nest. Because rodents also have sharp claws and teeth, letting them winter in your kayak is asking for damage.
Closing hatches will prevent animals from nesting, leaving pools of acidic urine and excrement, or even spending much time exploring.
Cordage
Do not put cordage back on the kayak at this point. Wait until late winter or when you bring it out in the spring to put cordage back on (this is why documentation of everything you remove from the kayak is critical.) Cordage can dry rot, be a collection point for mold, and provide critters with some great nesting material.
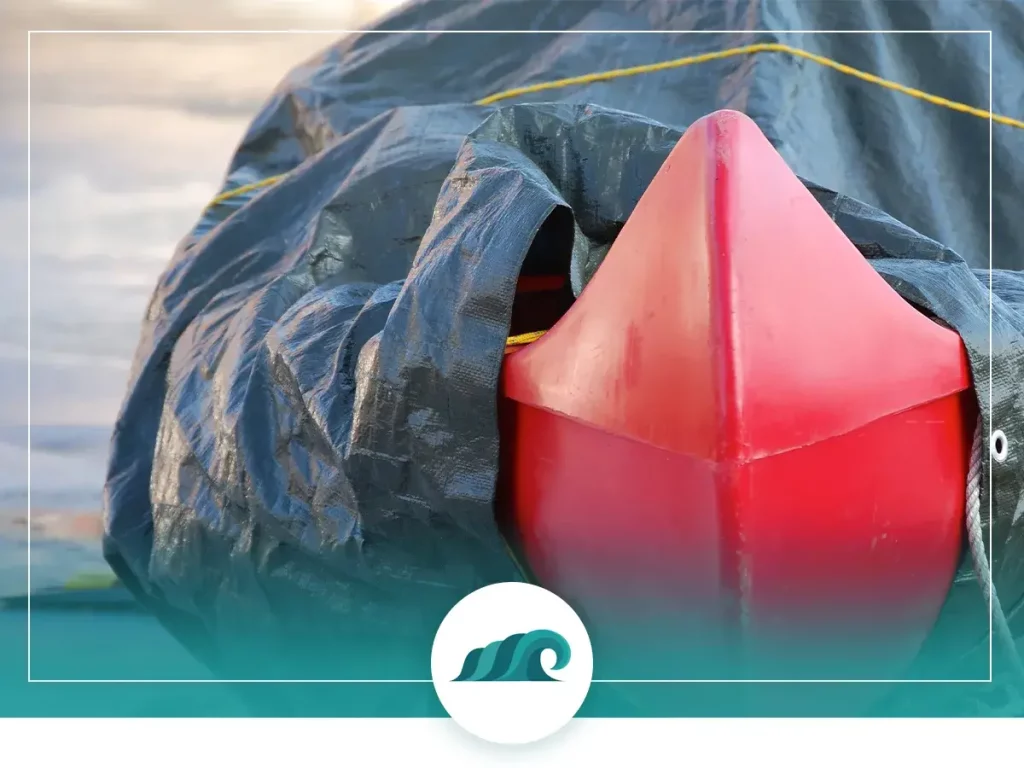
Covering the Kayak
Once the boat is cleaned and sealed, wrap it or cover it before you store your kayak. Neoprene covers or waterproof plastic protect your vessel from snow and ice if you store your kayak outside.
How To Store Your Kayak
As you decide how to winterize your kayak, if possible, consider storing your kayak inside a garage or basement for the winter. If garage or basement space is unavailable, store your boat on a porch or other weather-protected area.
Do not store your boat on the ground. Storing your boat on the ground in any season is not a good idea, but it is asking for an invasion of rodents in winter.
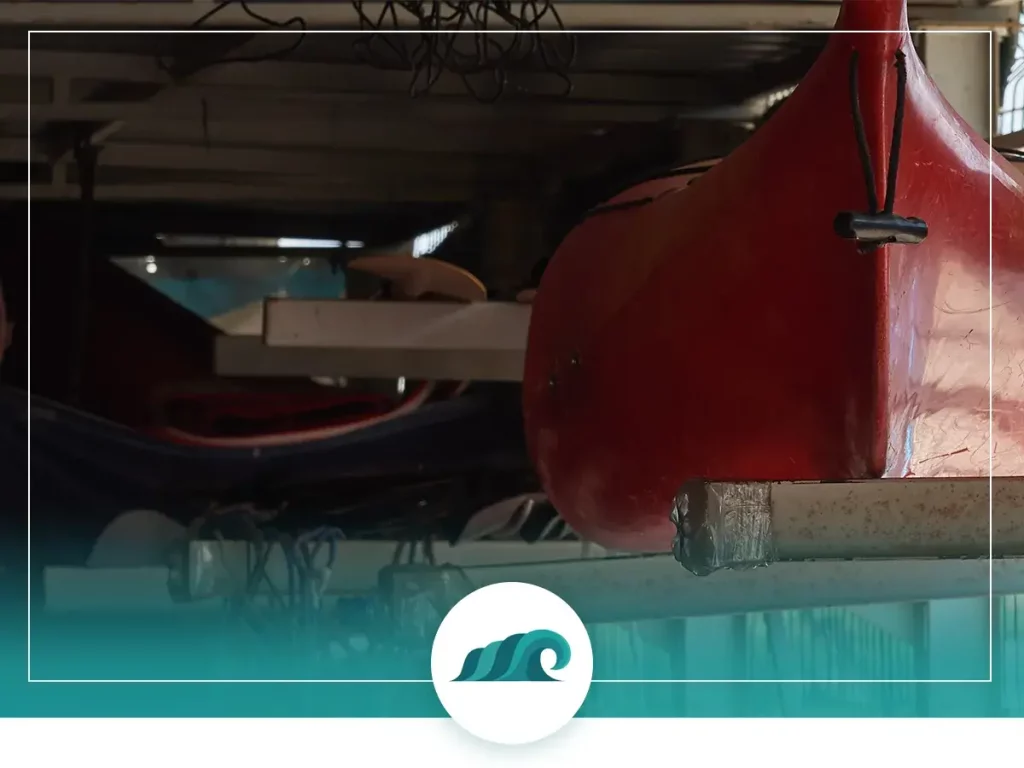
Saw horses make great storage platforms for kayaks, canoes, and other watercraft because they do not take up a ton of space in a garage, and you can store equipment underneath them. If you use saw horses outside, place your kayak upside down across the two horses.
A kayak stored upside down in winter prevents water from pooling if the cover gets breached.
Another idea when planning out how to winterize your kayak is to hang your kayak on a wall or store it across the rafters in a garage or barn.
Avoid Cold, Snow, and Ice
Where you store your kayak does not matter. The key is to keep the snow, ice, and wet off of it. The same applies to canoes and other watercraft.
A snow load can lead to melting and pooling of water, which is not good for the boat because a lot of snow or ice is heavy, and it can lead to pooled water, which helps create an atmosphere for mold and mildew once the warmer weather arrives.
Final Thoughts
Hopefully, these tips will help you plan out how to winterize your kayak to get it ready to go for the spring. Of all the tips, the most important is to clean your kayak and try and store it in as dry and protected space as possible.
If you do that, apart from putting the cordage back on, your boat will be good to go when warm weather returns. And when fall rolls around again, you’ll know exactly how to winterize your kayak in a snap!