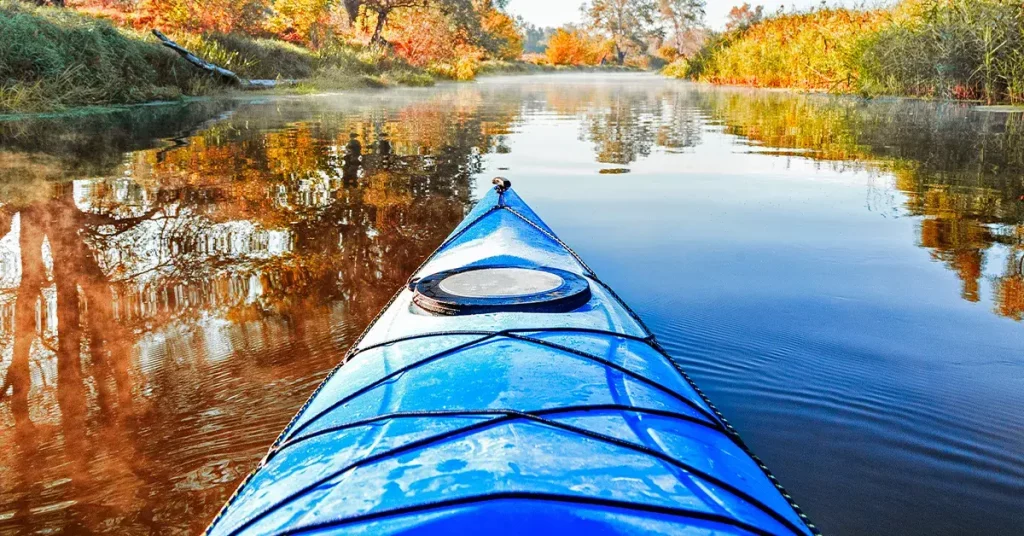
Kayaks are designed to provide a safe, stable, and comfortable platform from which you can paddle around for fun, or use it for fishing and duck hunting. However, they can also be quite susceptible to damage from the sun, wind and water. Over time, this can take its toll on the kayak’s appearance, making it look old and worn.
Fortunately, it is possible to revitalize an old kayak or even change its color completely by painting it. While this may seem like a daunting task, learning how to paint a kayak is actually fairly straightforward – as long as you have the right materials and follow some simple steps this can be a fun diy project.
Can You Paint A Kayak?
The answer is yes, but there are a few things to consider before doing so. First, it’s important to choose suitable paint. There are specially formulated kayak paints available that are designed to withstand the elements and provide long-lasting protection. Second, be sure to prepare the surface properly before painting. This means sanding down any rough spots and removing any old paint or finishes. Finally, take your time and be sure to follow the instructions on the paint can carefully. With a little effort, your DIY kayak paint job.
Fiberglass Kayak
Fiberglass kayaks are some of the most popular on the market due to their durability and relatively low cost. They are also fairly easy to paint, provided you use the right type of paint and take the necessary steps to prepare the surface.
Plastic Kayak
Plastic kayaks are less common than fiberglass but are often preferred by those who want a lighter-weight option. They can be more difficult to paint, however, as the plastic surface doesn’t always provide a good ‘key’ for the paint to adhere to.
Wooden Kayak
Wooden kayaks are beautiful but can be quite difficult to paint. This is because the wood is constantly changing shape due to changes in temperature and humidity. As such, it can be difficult to get a smooth, even finish.
Why Should You Paint A Kayak
Most kayaks are made from polyethylene plastic, which is durable and resistant to ultraviolet (UV) rays. However, over time, the plastic will start to degrade and become brittle, especially if it’s regularly exposed to sunlight. A fresh coat of paint will help to protect the kayak from UV rays and other environmental factors, keeping it in good condition for many years to come.
In addition, a paint job can also help to repair any superficial damage that has been caused by scratches or scrapes. Whether you’re looking to improve the look of your kayak’s surface or extend its lifespan, a new paint job is always a good idea.
Scratches and Dents
Whether your kayak is made of plastic, fiberglass, or aluminum, it’s bound to get a few scratches and dents over time. Painting can help protect the kayak’s surface from further damage and also make the kayak look new again.
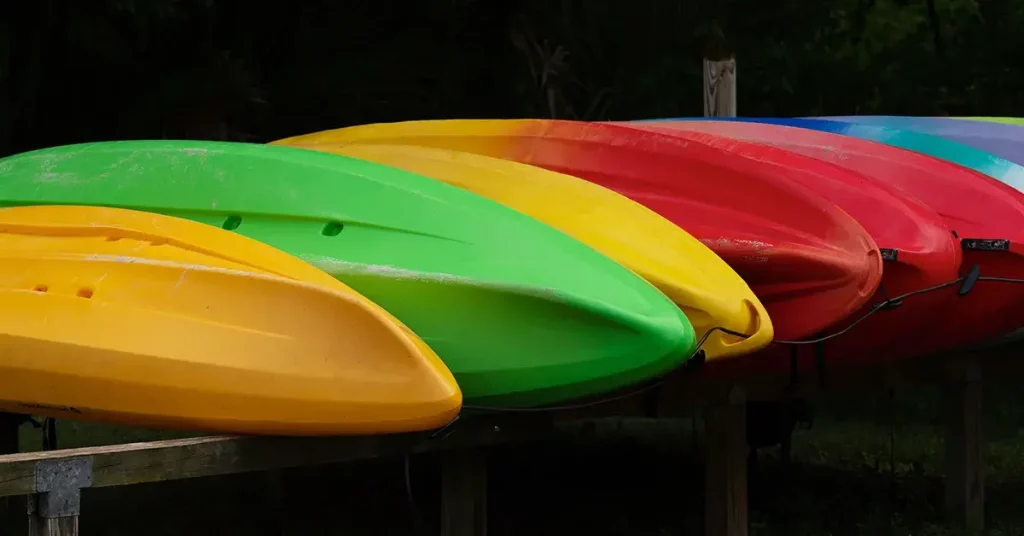
Changes in Color or Style
If you’re tired of the way your kayak looks, painting is a great way to change things up. You can choose a new color scheme, a camouflage paint job, or even add some graphics and patterns. This is a great way to personalize your kayak with a custom paint job and make it stand out from the rest.
Preventing Sun Damage
UV rays can cause serious damage to plastic kayaks, causing them to become brittle and crack, especially in the hull. Painting your kayak with UV-resistant paint can help extend its lifespan and keep it looking new.
Refurbishing Kayaks
If you’ve come across an old kayak at a garage sale or thrift store , painting it is a great way to give it new life. You can completely transform an old, beat-up kayak into something that looks brand new.
Kayak Painting Supplies List
When it comes to kayak painting, you need to make sure you have the right supplies. This includes a paintbrush, paint, and a kayak just to name a few items. Once you have all of your supplies, you are ready to start painting your kayak.
Alcohol
This is a great option to use when doing a final wipe down of your kayak or adding on a decal. It cleans really well and dries on its own very quickly.
Dish Soap
You will need to diluted dish soap and water to clean your kayak before painting. This will help remove any dirt, grime, or other debris that could prevent the paint from adhering properly.
Sandpaper
Lightly sanding your kayak before starting the painting process will help create a smooth surface for the paint to adhere to. Be sure to use medium-grit sandpaper so you don’t damage the kayak.
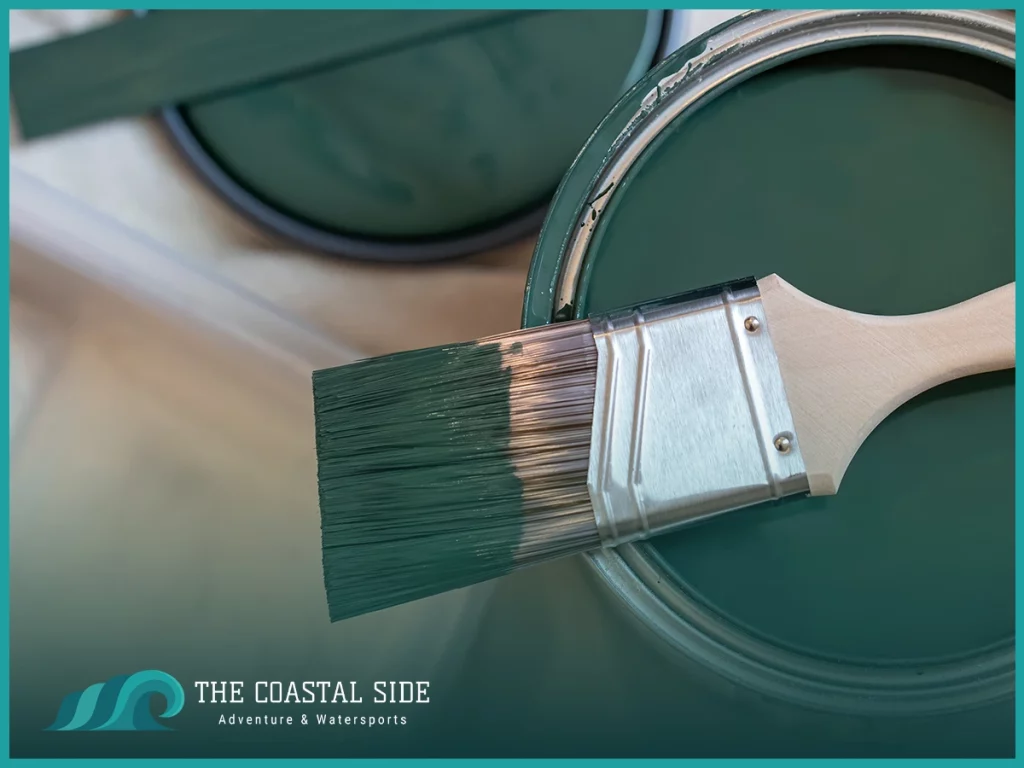
Paint
As we mentioned before, there are special paints made specifically for kayaks. These paints are designed to withstand the elements and provide long-lasting protection. Be sure to choose a color that you like and that will complement the rest of your fishing gear.
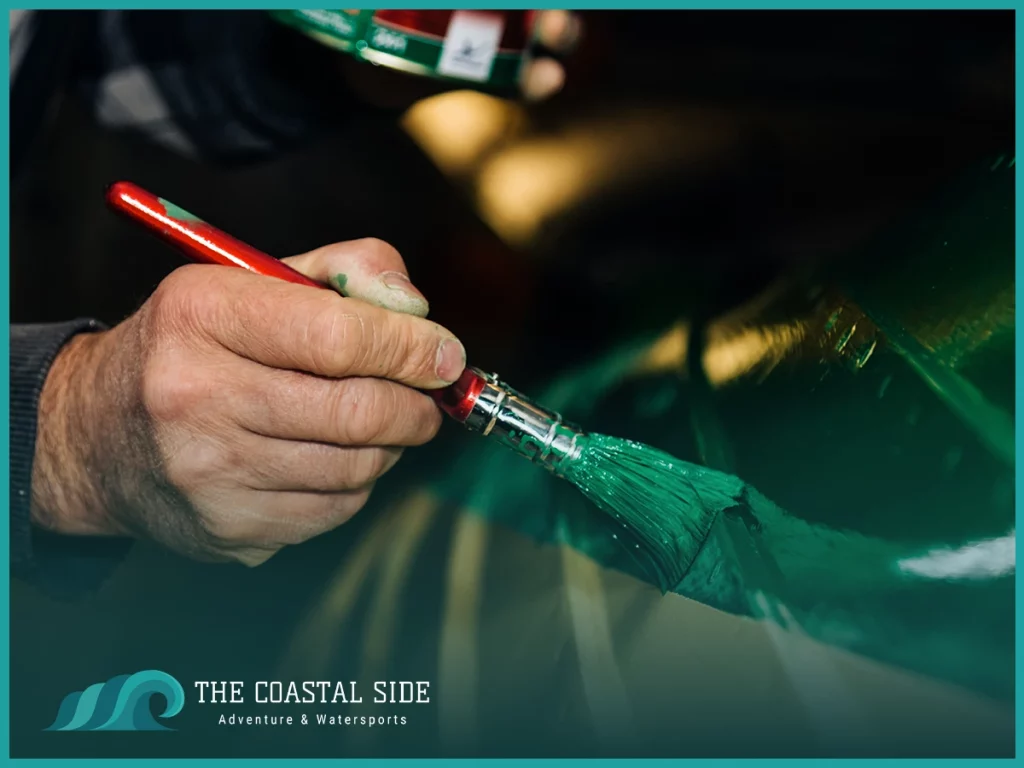
Paint Brush
You will need a paintbrush to apply the paint to your kayak. Be sure to choose a brush that is comfortable to hold and that has soft bristles. This will help prevent any brush strokes from showing up in the final product.
Kayak
Of course, you will need a kayak to paint. You can either use your own kayak or purchase a used one from a thrift store or consignment shop. Just be sure that the kayak is in good condition and doesn’t have any major damage.
Cloths/Rags
You will need some old cloths or rags to wipe up any paint that gets on the kayak while you are painting it.
Painter’s Tape
You will need painter’s tape to help create clean lines and prevent the paint from getting on areas you don’t want it to.
Marine Wax
After you have finished painting your kayak, you will need to apply a layer of marine wax. This will help protect the paint and keep it from fading.
Painting Mask
You will need to wear a protective breathing mask while you are painting the kayak. This will help protect your lungs from the paint fumes.
Paint Roller
You can also use a paint roller to apply the paint to your kayak. This is a good option if you don’t want to use a brush.
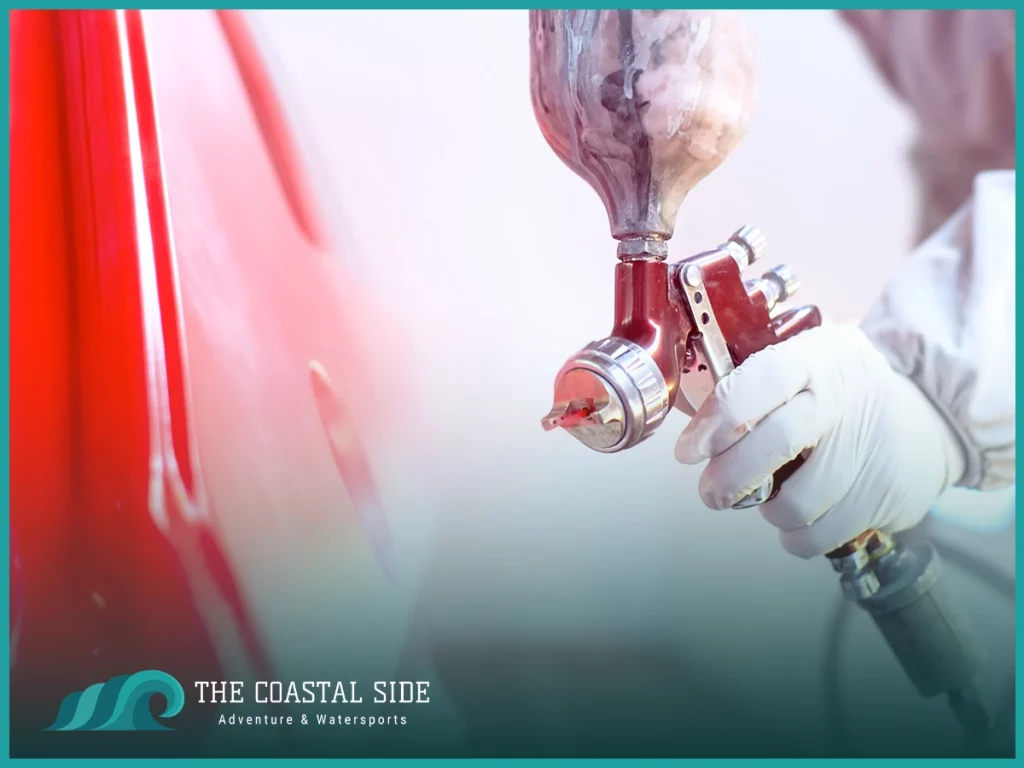
Paint Sprayer
Another option for painting your kayak is to use a paint sprayer. This is the quickest and easiest way to apply the paint, but it can be somewhat difficult to control. If done properly, it can spray paint evenly over the entire surface quickly and without streaks.
Gloves
You will need to wear disposable protective gloves while you are painting the kayak. This will help protect your hands from the paint and the fumes.
Eye Protection
You will also need to wear eye protection while you are painting the kayak. This will help protect your eyes from the paint and the fumes.
Sawhorses
You will need to set the kayak on sawhorses while you are painting it. This will help keep it steady and prevent it from moving around.
Tarp/Drop Cloth
You will need to put a reasonably sized tarp down under the kayak to catch any paint spills that may happen. This will make cleanup much easier.
Paint Brush or Paint Sprayer: Which One is Best?
When it comes to painting your kayak, you have two main options: a paintbrush or a paint sprayer. Each option has its own set of pros and cons, so you will need to decide which one is right for you.
Paint Sprayer
Using a paint sprayer on a kayak is generally faster and easier than using a brush. This is because spray paint can cover more area in one go than a brush, making it ideal for applying more than one coat of paint. In addition, spray painting is less likely to leave behind streaks or missed spots, resulting in a more even and professional finish. Therefore, if you are looking for a quicker and easier way to paint your kayak, spray painting is the way to go.
However, there are some drawbacks to using a paint sprayer. For one, it is more difficult to control than painting with a brush. This means that you are more likely to get paint on areas that you don’t want it to be. In addition, spray painting can be messy and time-consuming to clean up, especially if you need to run some paint thinner through the nozzles to clean them out.
Paintbrush
Painting with a brush is generally more precise and detailed than spray painting. This is because you can control where the paint goes more easily, making it less likely to get on areas that you don’t want it to. In addition, brush painting can be less messy and time-consuming to clean up. Therefore, if you are looking for a more precise and tidy way to paint your kayak, painting with a brush can be a better option.
However, there are some drawbacks to using a brush. For one, it can take longer to paint with a brush than it does with a sprayer. This is because you have to apply the paint in multiple coats in order to get an even finish. In addition, brush marks can be more difficult to blend than spray paint, resulting in a more textured finish.
Paint for Kayaks
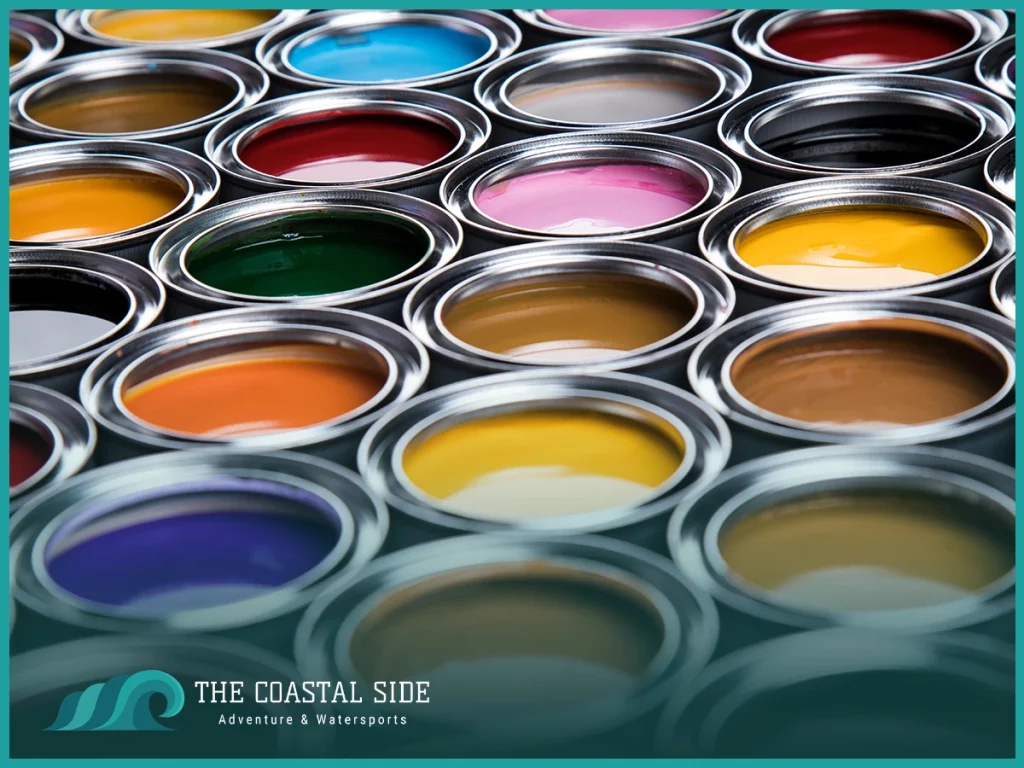
When it comes to the actual painting, you have a multitude of options for paint. Let’s look over a few types you can use to have a successful paint job.
Marine-Grade Paint
The best type of paint to use on a kayak is marine-grade paint. This type of paint is specifically designed to withstand the harsh conditions of the outdoors, making it ideal for protecting your kayak from the sun, rain, and saltwater. In addition, marine-grade paint is usually more durable and long-lasting than regular paint, so it will be less likely to fade or chip over time. You can also get marine-safe spray paint, which can be an easy alternative.
Acrylic Paint
Another option for painting your kayak is acrylic paint. This type of paint is less expensive than marine-grade paint and is widely available at most hardware stores. However, acrylic paint is not as durable as marine-grade paint and is not as resistant to the elements. Therefore, it is not recommended for use on a kayak unless you are planning on using it for short-term purposes.
Water-Based Paint
If you are looking for an environmentally-friendly option, water-based paint is a good choice. This type of paint is made with water-soluble materials and does not release harmful toxins into the air. However, water-based paint is not as durable as other types of paint and is more susceptible to fading and chipping.
Oil-Based Paint
Oil-based paint is another option for painting your kayak. This type of paint is made with oil-soluble materials and dries to a hard, glossy finish. However, oil-based paint can be difficult to clean up and is not as environmentally friendly as water-based paint.
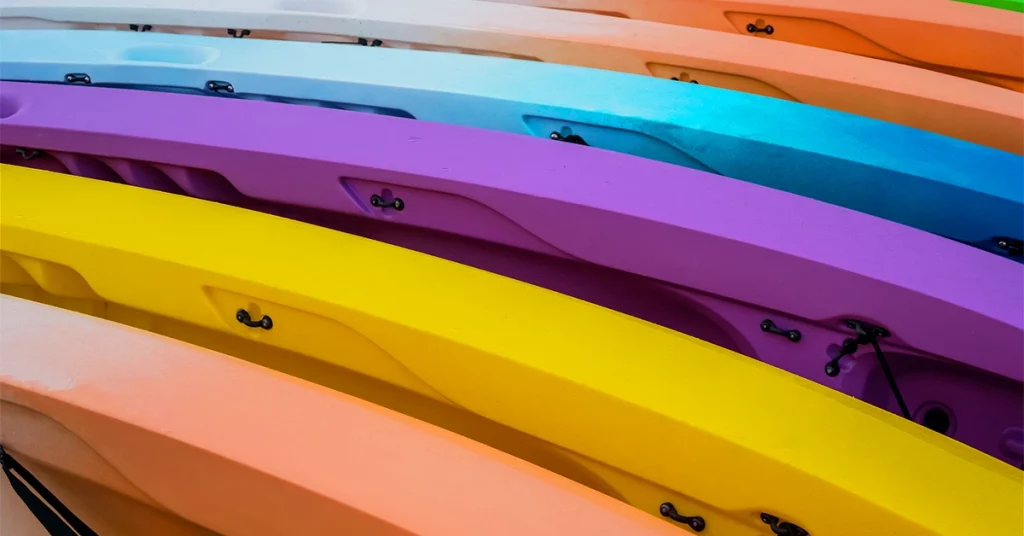
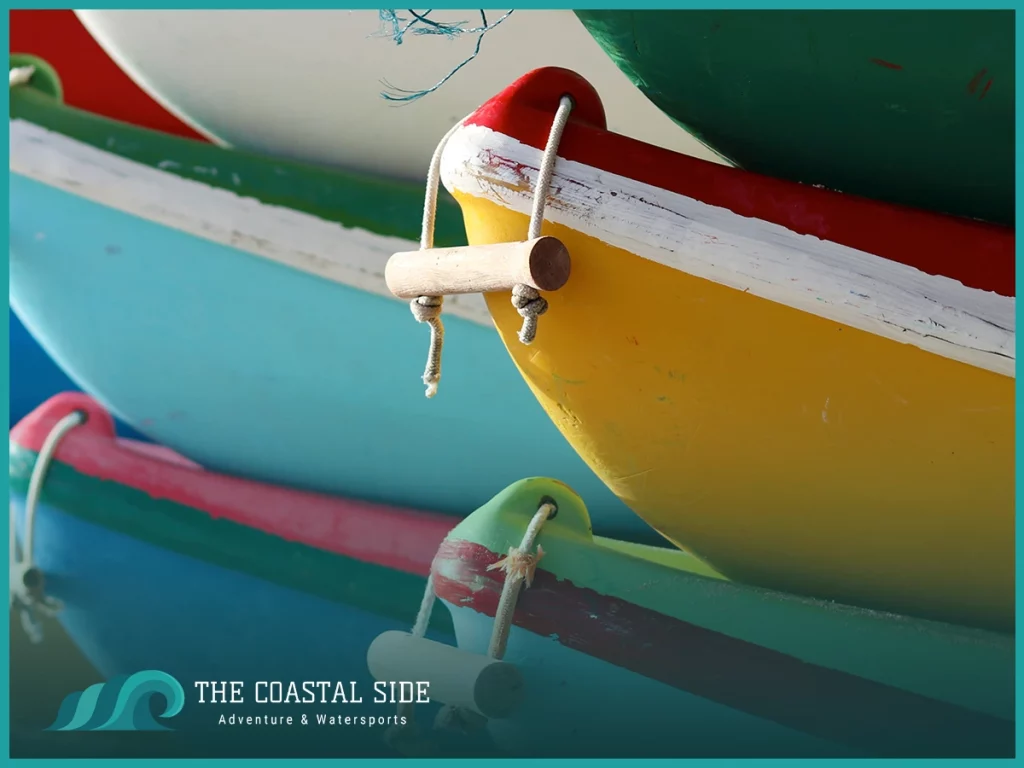
Colors to Paint Your Kayak
When it comes to choosing a paint color for your kayak, there are no hard and fast rules. You can choose any color that you like, as long as it is suitable for the type of kayaking that you will be doing. For example, brighter colors are better for fishing kayaks because they make it easier to see in the water. However, darker colors are better for hunting kayaks because they provide better camouflage.
How to Paint a Kayak: Step-By-Step Guide
Well, it’s time to jump in and see how to paint a kayak from prep to final coat.
Step #1: Prepare the Area
Before you start painting, you will need to prepare the area where you will be working. This includes protecting any surfaces that you don’t want to get paint on. To do this, you can cover the area with a drop cloth or old newspapers. Use your sawhorses to set up a spot to place the kayak off of the ground.
Step 2: Strip Down the Kayak
The next step is to strip down the kayak. This includes removing any accessories, such as the seat, paddles, and life jackets. In addition, you will need to remove any decals or stickers from the kayak. Use a putty knife to scrape off any residue that is left behind. Once everything is removed, clean the surface of the kayak with soap and water.
Step #3: Sand the Kayak
Once the area is prepared, you will need to sand the kayak. This step is important because it will help the new paint to stick better and will create a smoother finish. Start by sanding the entire kayak with medium-grit sandpaper until the surface is dull and even. Then, switch to fine-grit sandpaper and sand the kayak again.
Step #4: Clean the Kayak
After you have finished sanding, you will need to clean the kayak. This step is important because it will remove any dust or debris that could prevent the paint from adhering properly. To clean the kayak, use dish soap and water solution. Then, rinse the kayak with clean water and let it completely dry.
Step #5: Wipe Down the Kayak
Take a few moments with a clean cloth and wipe down the kayak after it is completely dry. This will make sure that you have gotten any leftover debris from sanding off the old paint. Plus, it gives you one more opportunity to look over the whole area, making sure you didn’t miss any area that could cause you trouble.
Step #6: Tape Off the Areas You Don’t Want Painted
Once the kayak is dry and wiped down, you will need to tape off any areas that you don’t want to be painted. To do this, use painter’s tape to cover any hardware that had to be left on or area that you don’t want the paint to get on. Nothing is worse than painting over a bolt location that you have to find later when installing the seat or other parts.
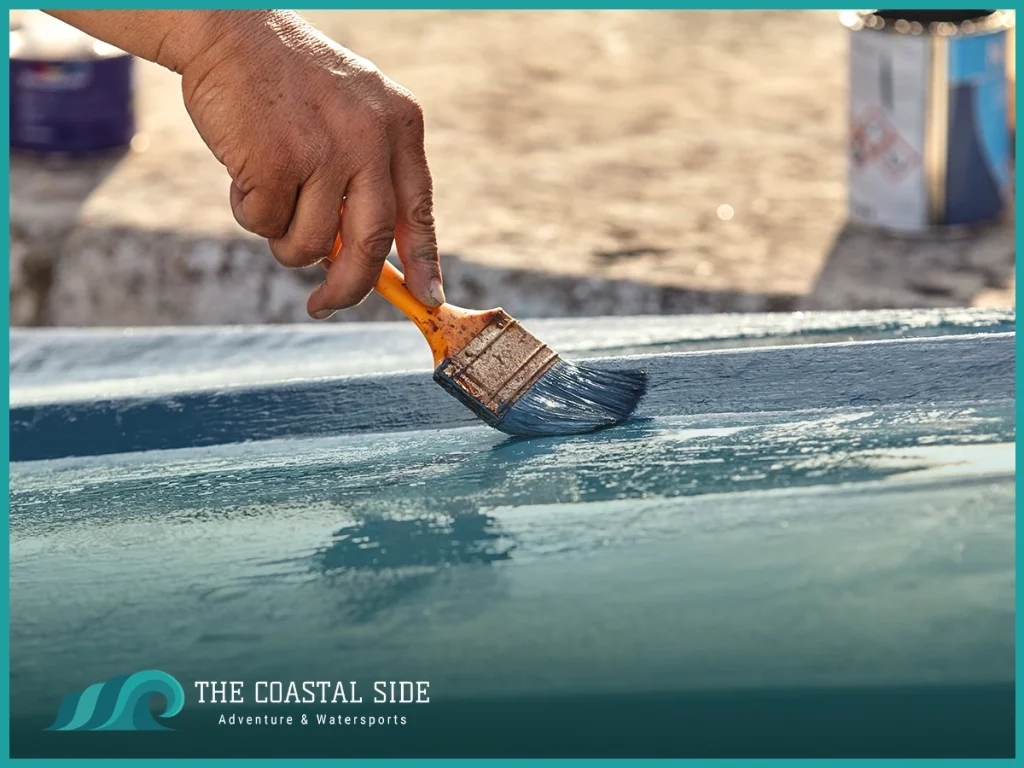
Step #5: Paint The Kayak
Now, it is time to start painting your kayak. When you are ready to start, open up the can of paint and stir it well. Then, if using a paintbrush or roller, apply a thin layer of paint to the kayak. Be sure to work in small sections so that the paint doesn’t dry before you have a chance to spread it around.
If you are using a paint sprayer, move from side to side in even rows. This will allow you to paint the full kayak in long “strokes” so the finished product will turn out even and amazing!
Step #6: Let The Paint Cure
After you have finished painting, let the paint dry completely. This usually takes up to 24 hours. Once the paint is dry, you can add a second coat if desired.
Step #7: Apply A Clear Coat
Once the paint is dry, you may want to apply a clear finishing spray paint. This step is optional, but it will help to protect the paint and make it last longer. To apply a clear coat, simply spray on a thin layer of Krylon 1311 clear finish. Let the clear coat dry completely before moving on to the next step. This may take up to another 24-hours.
Step 8: Reassemble The Kayak
Now that the kayak is painted and dry, you can reassemble it. Start by taking off any other tape you used or plastic-covered sections. Next start attaching any hardware that was removed, such as the seat, foot pegs, or foot braces to name a few.
Step #9: Clean And Wax Your Kayak
The final step is to clean and wax your kayak. This will help to protect the paint and keep it looking shiny and new. Use a dish soap, water, and a soft sponge to wash the kayak. Once dry, you can then apply a coat of wax with a clean cloth. Buff the wax until it has a nice shine.
That wraps up the steps you need for how to paint a kayak. We can now move into kayak decals, which can add a little pizazz to your painting project.
How To Add A Decal To Your Kayak

Step 1: Clean The Area
The first step is to clean the area where you will be applying the decal with rubbing alcohol. This step is important because it will help the decal to adhere better and will also make sure that there is no dirt or debris that could prevent the decal from sticking. To clean the area, use rubbing alcohol and wait for it to dry. This shouldn’t take long as you are not saturating the area but just wiping it up, plus alcohol dries quickly on its own.
Step 2: Measure The Decal
Once the area is prepared, you will need to measure the decal. This step is important because you want to make sure that the decal is not too big or too small for the area you are applying it to. To measure the decal, simply use a ruler or tape measure to get the dimensions of the decal. Once you have the measurement, you can then cut the decal to size.
Step 3: Apply The Decal
Now that the decal is cut to size, you are ready to apply it. To do this, place the decal against the kayak and use painter’s tape on either the top/bottom or sides of the decal. This will hold it in place on the kayak while you apply it. Once the decal is placed on the kayak, you can take off the painter’s tape and slowly from one of the corners start to remove the decal backing. Make sure to go slow and keep the backing your pulling off close to the surface of the kayak. If you go too quickly or are pulling the backing straight off and not at an angle the decal can come off or create a lot of air bubbles. Be sure to smooth out any bubbles or wrinkles as you go with a credit card or a small plastic squeegee.
Tip: if you can’t get the air bubbles out, use a hairdryer to heat the decal with your squeegee. Heating the decal will soften the adhesive enough to push out the bubbles.
Step 4: Let The Decal Dry
Once the decal is applied, you will need to let it dry. This step is important because it will help to ensure that the decal has properly adhered to the kayak. To let the decal dry, simply place the kayak in a warm, dry place and let it sit for 24 hours.
Caring for Your Kayak
Kayaks, like all boats, require regular care and maintenance to keep them in top condition. This can be anything from wiping them down to using covers. the last thing you want its to have your kayak become unusable. To make sure this doesn’t happen, here are a few tips for taking care of your freshly painted kayak.
Saltwater vs Freshwater
The paint on your kayak can be affected by both saltwater and freshwater, but the impact is more significant in saltwater. This is because the salt can corrode the paint and cause it to peel or flake off. In freshwater, there is less of a concern for corrosion, but the paint can still be affected by the sun and other elements. The best way to protect the paint on your kayak is to store it in a cool, dry place out of direct sunlight when you’re not using it. You should also clean it regularly with fresh water and dish soap to remove any dirt or debris that could accelerate the deterioration of the paint. With proper care, you can keep your kayak looking great for years to come.
Kayak Covers
If you want to keep your kayak in pristine condition, you should consider investing in a kayak cover. A kayak cover will protect your kayak from the sun, rain, snow, and other elements when you’re not using it. It’s important to choose a cover that is made from durable material and that fits your kayak snugly. You should also make sure that the cover has ventilation to prevent mold and mildew from forming inside.
Waxing Your Kayak Regularly
Another way to protect the paint on fiberglass kayaks is to wax it regularly. This will create a barrier between the kayak and the elements, and it will also make it easier to clean. When you’re waxing your kayak, be sure to use marine-grade wax that won’t damage the paint. You should also avoid getting wax on any of the moving parts, such as the rudder or pedals.
Kayak Repair Kits
Even with the best care, your kayak may eventually need some repairs. This is especially true if you use it frequently or in rough conditions. To be prepared for this, you should keep a kayak repair kit on hand. This should include a patch kit for fixing holes, duct tape for temporary repairs, and a set of replacement parts for any broken or worn-out components. By having a repair kit on hand, you can potentially catch something before it becomes too big of a problem that can’t be fixed.
There you have it! Everything you need on how to paint a kayak, add a decal and properly care for it. Just remember to take your time, be patient, and have fun! Painting your kayak is a great way to show off your personality and make it unique. Good luck!