Most anglers are somewhat familiar with fish finders – they may even own one – but not many understand how fish finder technology works under the hood. Learning how fish finders work will allow you to utilize your fish finder’s full capabilities and help you catch more fish!
Modern fish finders utilize sonar pulses to map out the area directly below and surrounding the boat. The sonar pulses are interpreted by specialized software and then relayed to a digital display for the fisherman to see.
If you’re curious about fish finders, this post will explain how fish finders work plus how to read your fish finder properly.
What is a Fish Finder?
A fish finder is an electronic device for detecting fish underwater. They’ve actually been around for quite a while – the first one was developed in Nagasaki, Japan back in 1948.
These early units were bulky and very basic but gave valuable information to the angler – such as bottom depth and the location of large schools of fish. As early models were rather primitive, they didn’t provide any information on individual fish or characteristics of the bottom structure.
As technology progressed, digital LCD screens were paired with sonar instruments to provide anglers with a detailed image of their marine environment. More recently, GPS technology has been bundled in with many fish finders – which give fishermen the ability to chart their position and boat direction on top of a map.
How Do Fish Finders Work?

Fish finders consist of two major components: 1) The transducer and 2) The display or ‘head unit’. The two components work together to relay information about the surrounding terrain and fish in the area.
Transducer
The transducer is an underwater transmitter that sends out electrical sound pulses or “pings” into the water. These pulses bounce off of fish and the bottom and then reflect back to the transducer. The transducer receives this information and relays it to the head unit – which estimates the size and depth of any objects below the fisherman.
Transducers work by converting electricity into sound through tiny crystals – known as piezoelectric crystals. These crystals vibrate at different frequencies, depending on their shape and size.
Higher frequencies form a narrower and more detailed search ‘cone’. While lower frequencies form a less detailed ‘cone’ that’s wider and deeper. Most commercially available fish finders for recreational fishing come with multiple frequencies between 50 kHz (Low) and 200 kHz (High).
There are also CHIRP (Compressed High-Intensity Radiated Pulse) systems which can transmit simultaneously on both high and low frequencies – allowing them to receive and process far more information than single or dual frequency units. These systems were originally developed for military applications and were prohibitively expensive for most recreational fishermen. However, in recent years manufacturers started making them for every price range.
Transducers can be mounted in a variety of ways – from transom mounts for canoes and kayaks, to thru-hulls, to trolling motors with transducers built into the propeller hub.
Display
The display or ‘head unit’ is the brains behind the entire unit. It houses the hardware and software that interprets data from the transducer, as well as the visual display.
Screen sizes vary from ultra-compact 3” LCDs all the way up to full HD 16” models with four-panel split screens. Larger screened models tend to pack more features and cost more, while smaller screens work well for smaller watercraft. If you plan to use split-screen a lot, going for a 7” or larger screen will make it easier to see from a distance.
Pay attention to screen resolution and pixel density as well. Cheaper models will have lower resolutions that won’t provide as much detail as high-res screens. Many higher-end screens also have touchscreen navigation capabilities, making them much quicker and easier to use on the fly.
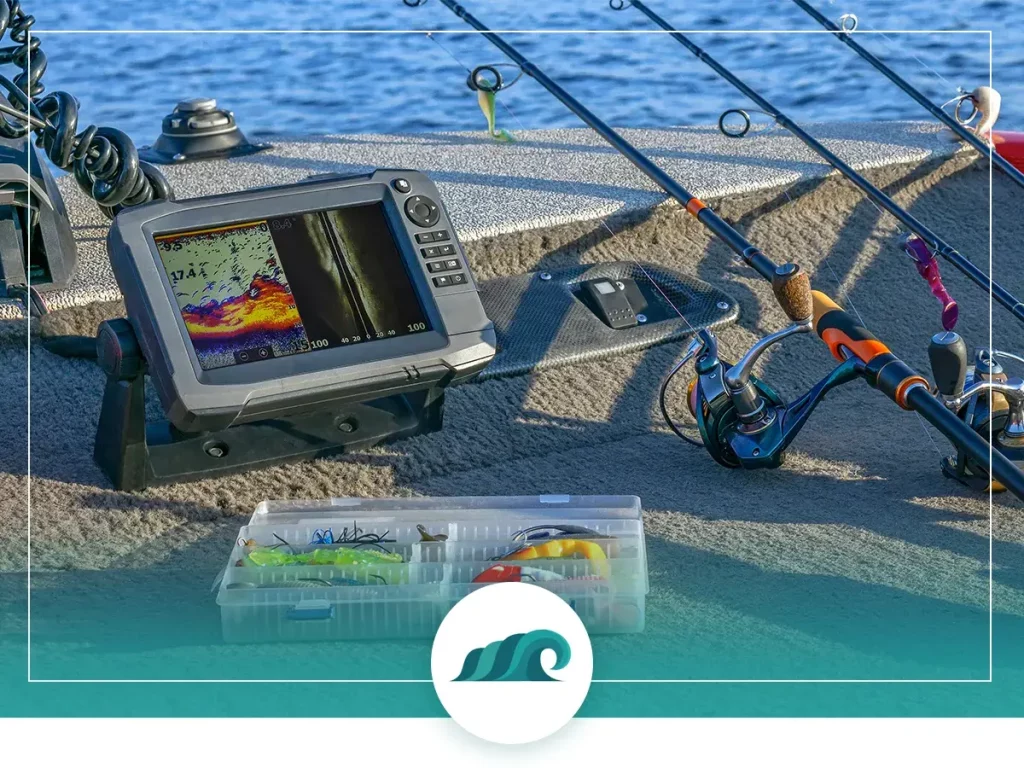
Fish Finder Configurations

Fish finders are available in a variety of configurations – from simple standalone units to GPS combination chart plotters/fishfinders, to fully networked systems with Wi-Fi and Bluetooth connecting multiple units, radar, smartphones, and radio.
Standalone Fish Finders
If you’re just looking to locate fish and see the marine environment below you, then a simple standalone fish finder will do the job nicely. You can find simple budget units for around $100 that are capable of doing the job – many of them even have CHIRP and GPS capabilities.
GPS Chartplotter / Fish Finder Combos
Combination GPS/fish finders are increasingly common and are available at almost every price point. Integrated GPS allows you to plot your position and trail on top of an existing GPS map, add waypoints, and find your way to new fishing spots. GPS is particularly useful if you’re kayak or canoe fishing – as it provides data on speed – which can help plan out your trip.
Newer units have preloaded high definition maps of many inshore lakes – which provide data on the contours and features of the lakebed. They also have the capability to create custom maps of unmapped areas by idling over an unmapped area of water.
Networked Systems
Networking multiple sonar units in the same boat is becoming increasingly common. Anglers with larger boats often mount two fish finders to the same boat, one by the console, and another near the bow where they cast off. Networking the two units together allows you to share information between the two units, and choose which transducer you want to read the data from.
Networking capabilities are becoming more and more amazing every year. Newer models can easily integrate multiple fish finders using Ethernet, and can even be controlled directly from your smartphone.
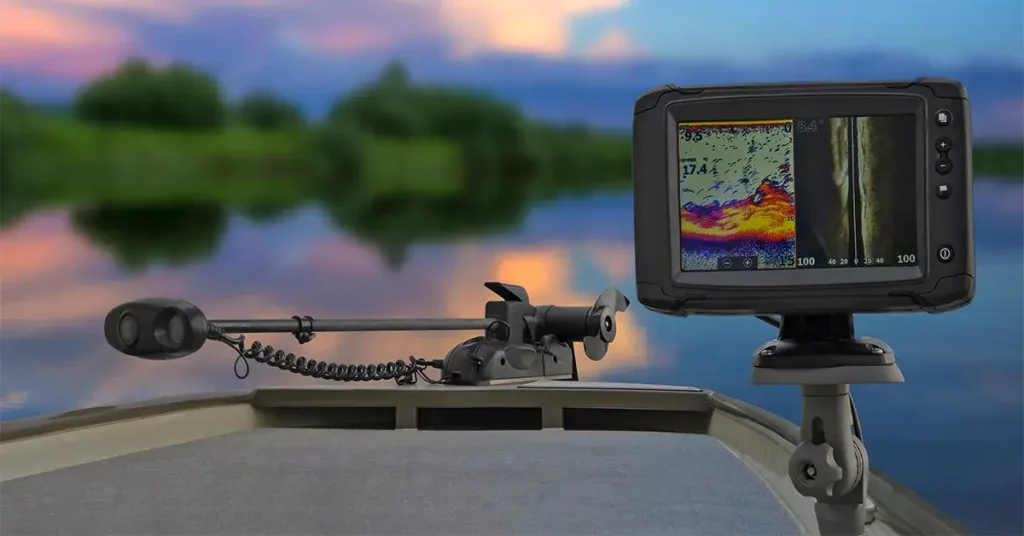
How to Read a Fish Finder Display
If you’re not familiar with fish finders, reading the display can seem like deciphering hieroglyphics. Learning to interpret your fish finder is an important skill and will give you a huge advantage overfishing blind.
You don’t want to be the guy with a fancy new fish finder – and no idea how to use it!
2D Sonar
Traditional 2D sonar is found on practically every fish finder and is the most commonly used imaging technology by most anglers.
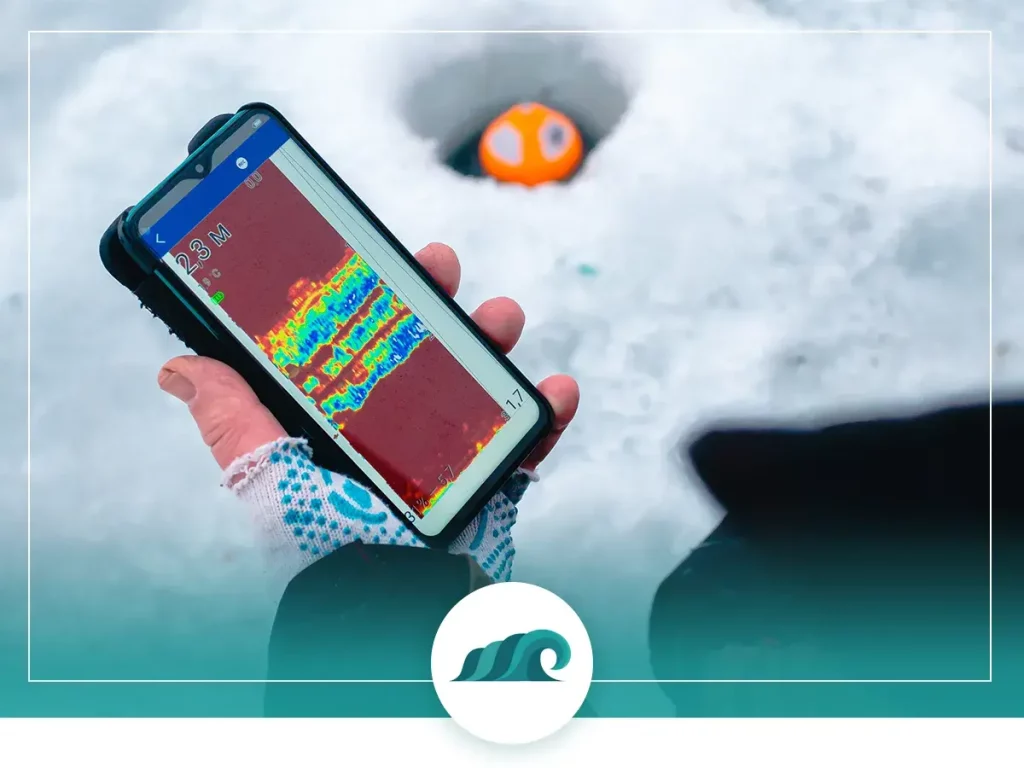
2D sonar is constantly pinging a sound beam or cone into the water below. The beam bounces off of objects below and reflects back up to the transducer, which relays the information to your screen. As new information is relayed, your screen will scroll from right to left – with the newest information appearing on the right.
The screen will also typically display a depth rating, temperature, and boat speed.
Different frequencies will change the shape and depth of the search cone. 200 kHz will give you a narrow and detailed search cone – while 83 kHz will give you a wider and deeper search cone, but with less detail. If you’re fishing in shallower water, then a higher frequency will work well. Lower frequencies work best for deepwater fishing as the cone can penetrate deeper into the water.
Interpreting the Display
If you’re idling in one place, then a passing fish will appear like an arch on your fish finder’s screen. The reason being is the distance between the sonar cone and the fish changes as it swims from one edge of the cone to another. A stationary fish will look like a solid line on your screen.
The thickness of the arch gives you a good idea about the size of the fish. Larger fish return a better signal than smaller fish and will appear like thicker arches with a solid red or yellow color in their center. Half-formed arches indicate that the fish only partially passed through the sonar cone.
Small clusters of baitfish will look like blobs or little dots, depending on the sensitivity settings. As a general rule, you want to increase the sensitivity levels as high as possible without over-saturating the screen with excess noise.
Depending on your color palette, the bottom will appear like a solid red or yellow band with green and blue beneath it.
Fish ID is a feature found in many fish finders that displays a symbol where it thinks fish are located. It also typically includes an estimation of the fish’s depth.
The downsides of using fish ID is that it can sometimes misinterpret weeds as schools of fish, and can clutter up your display – making it difficult to interpret for yourself. Nevertheless, it can be a useful tool for teaching new users the ropes of reading 2D sonar.
Down Imaging / Down View / Downscan
Down imaging sonar is a newer technology that utilizes an ultra-high-frequency beam to take detailed images of a thin slice of the water column. These images produce a high-res snapshot of the area below your boat. Down imaging works best in conjunction with traditional 2D sonar. Many anglers like to use them simultaneously in split screen mode.
Down imaging is particularly useful for differentiating between fish and brush piles, weed lines and fallen logs. The high resolution provides you with a much better picture of the bottom features than 2D sonar.
Reading down imaging sonar is similar to reading traditional 2D sonar. The image scrolls from right to left, with new information displayed on the right. The display will only show two colors – typically black and yellow/orange. Fish will appear similar to a 2D sonar but will be easier to distinguish from nearby structures.
It’s important to keep in mind that the display is not in ‘real-time’. There’s a slight delay between the image on your screen and the actual position of fish and structures around you.
Side Imaging / SideVu / Side Scan
Side imaging sonar utilizes similar technology to down imaging sonar. The main difference is side imaging sends sonar beams perpendicular to either side of the boat – which gives you a 180° wide scan of either side of your boat.
Side imaging gives you a lot more intel on your surroundings than either traditional sonar or down imagining. Many anglers like to use side imaging while cruising to locate interesting underwater features and schools of fish.
Reading a side imaging sonar is slightly different than other sonar displays. Rather than a left/right side-scrolling display, side imaging scrolls from top to bottom – revealing the newest scan information on the top of the display. Also, because of the wide cone angle, shadows are more prominent than in traditional sonar – which can give you an indication of an object’s size.